Stand out with one-click Response
Bark offers a super slick interface for enhancing your one-click response. It allows you to customise the design and content of your message to your customers, helping you make the best first impression every time.
Using this feature, your message looks like it has been sent directly from you instead of through Bark, and any email replies are forwarded to you instantly.
You can now do all of the following and much more:
- Create your own design for the email
- Add images and logos
- Change the colours to match your business’ branding
- Customise things like the font, sizes and colours
Once set up, use your one-click response from your leads page to contact the customers of your choice.
Personalise your one-click response today so you can get hired even more through Bark!
Getting Started
To start setting up your personalised one-click response, click here.
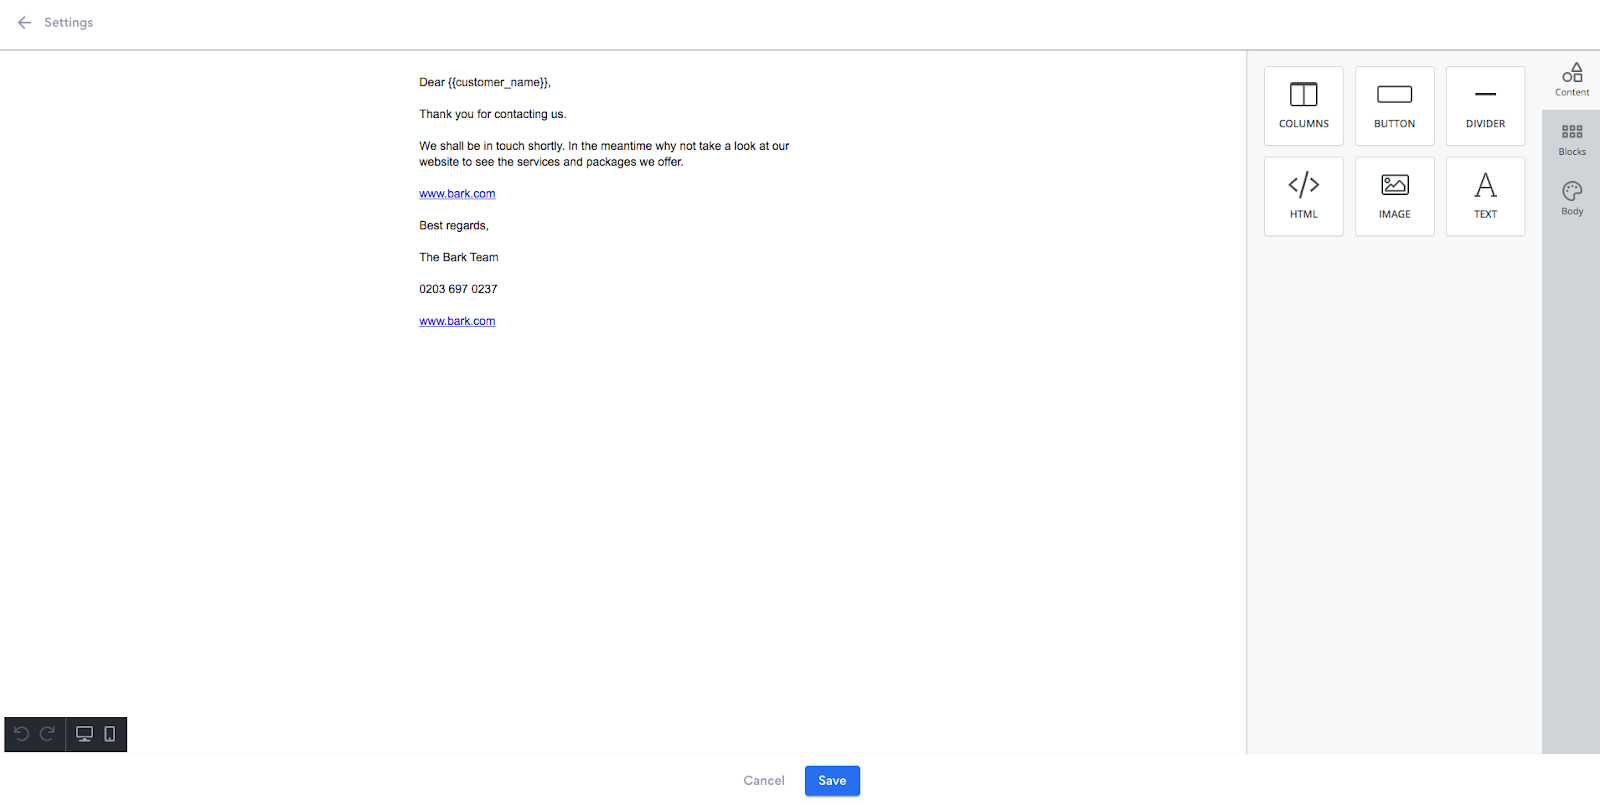
Using the image below as a guide, click edit:

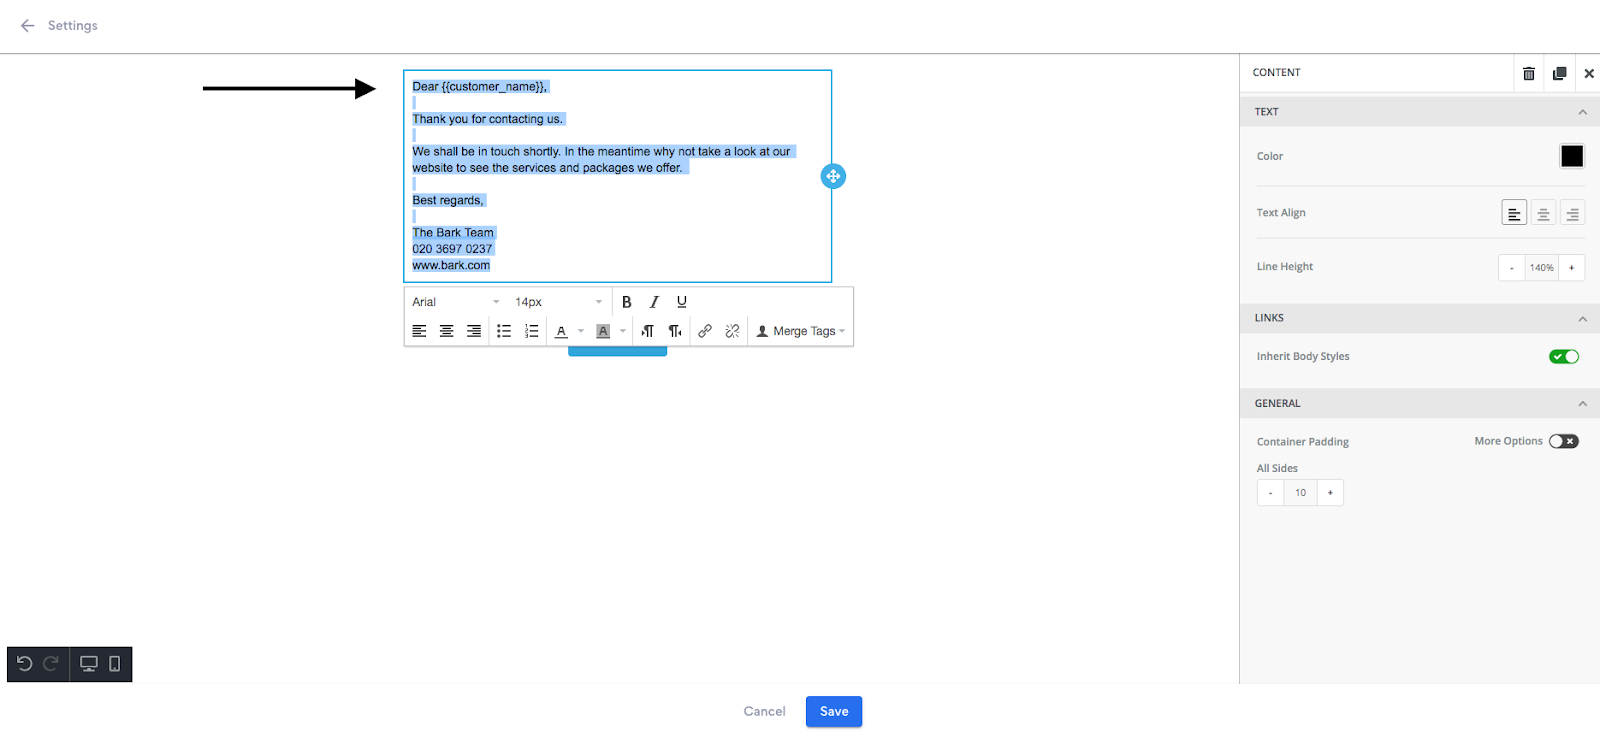
You will then be taken to the page where you can personalise your message:
You can then edit the text of your one-click response by clicking on the existing text and making any necessary changes. Make sure to click save at the bottom.
Adding a Logo
Adding your company logo to your one-click response helps you make the best possible first impression to customers on Bark.
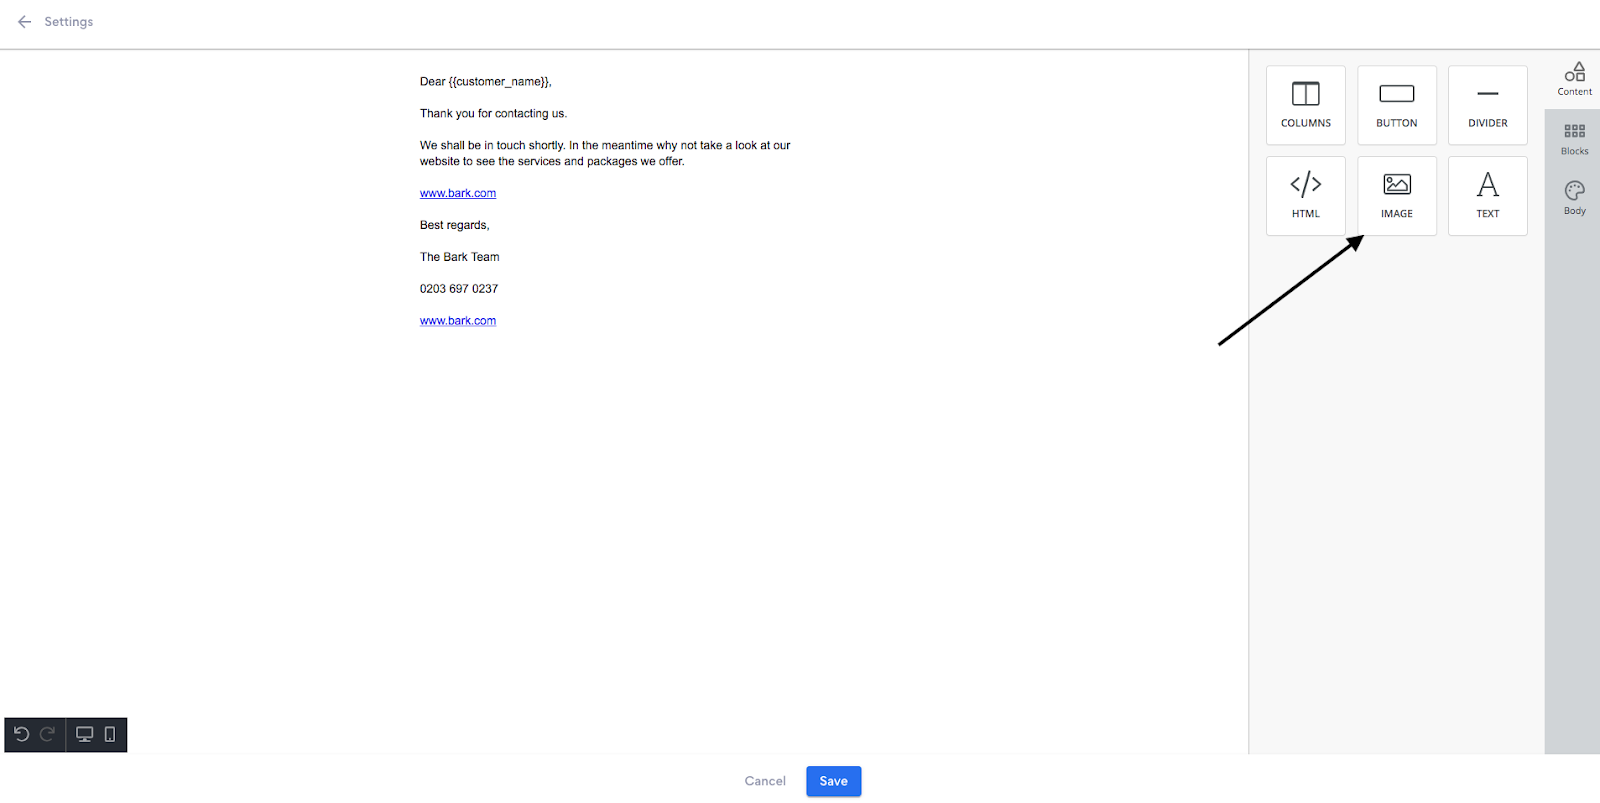
To add your logo, click and hold ‘Image’:
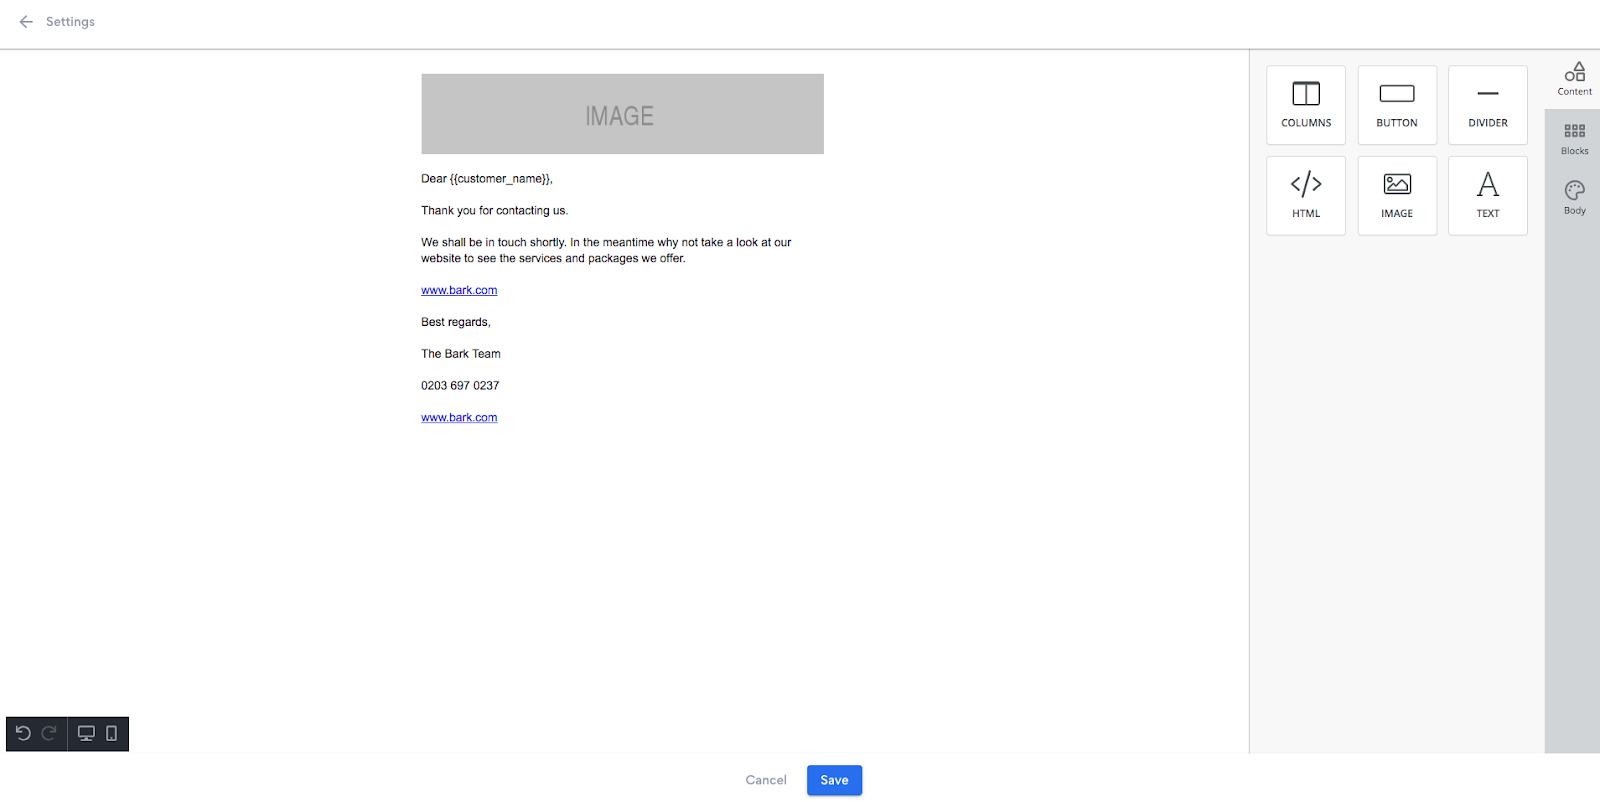
Drag the image box to display above or below your text:
Then, click the image box and select ‘Upload Image’ on the right-hand taskbar:
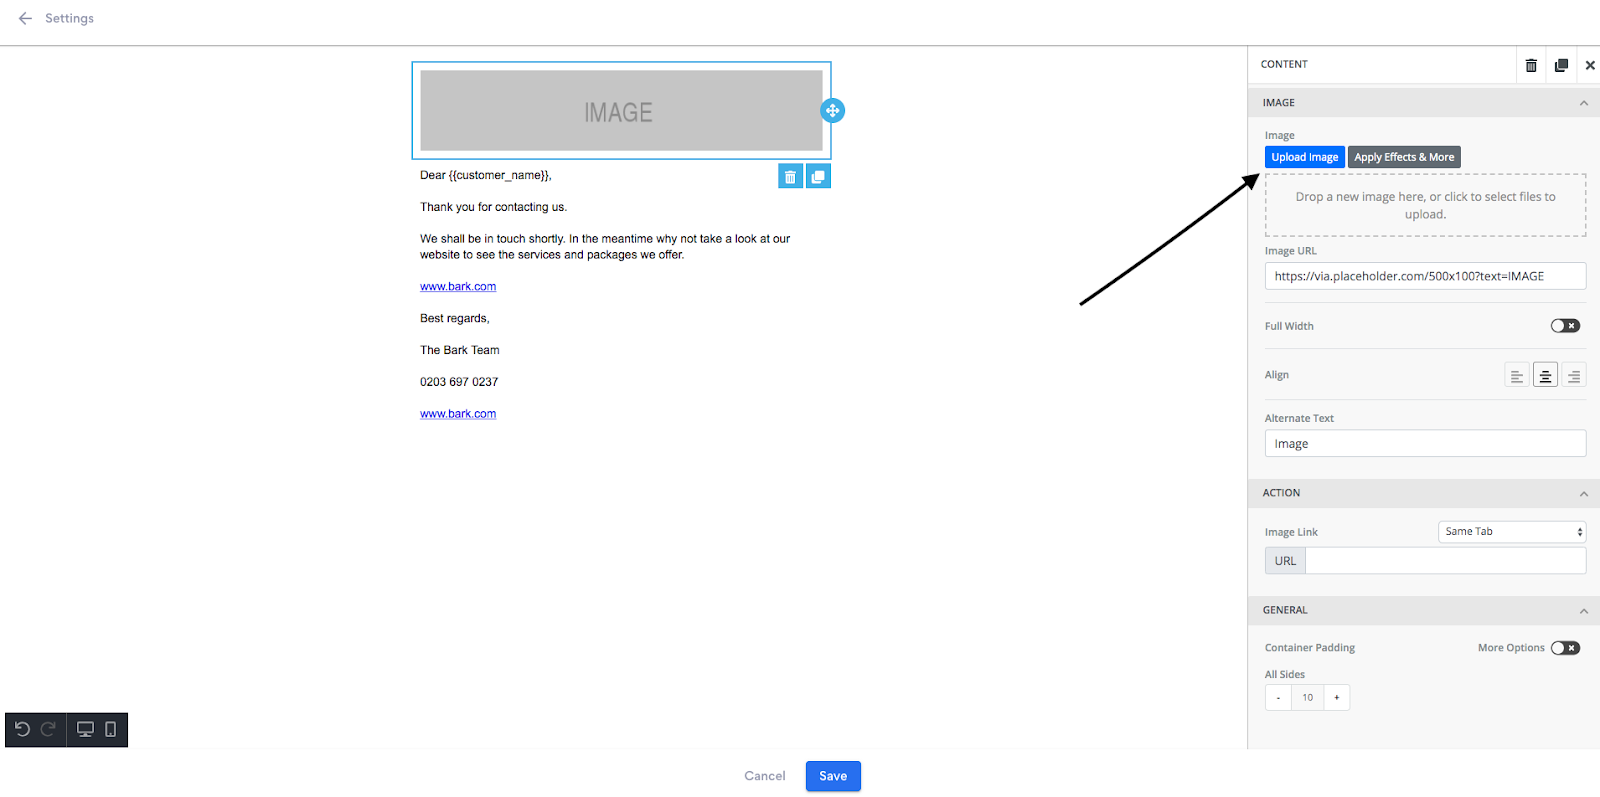
Now, select the image you wish to add from your device and upload it directly into the image box:
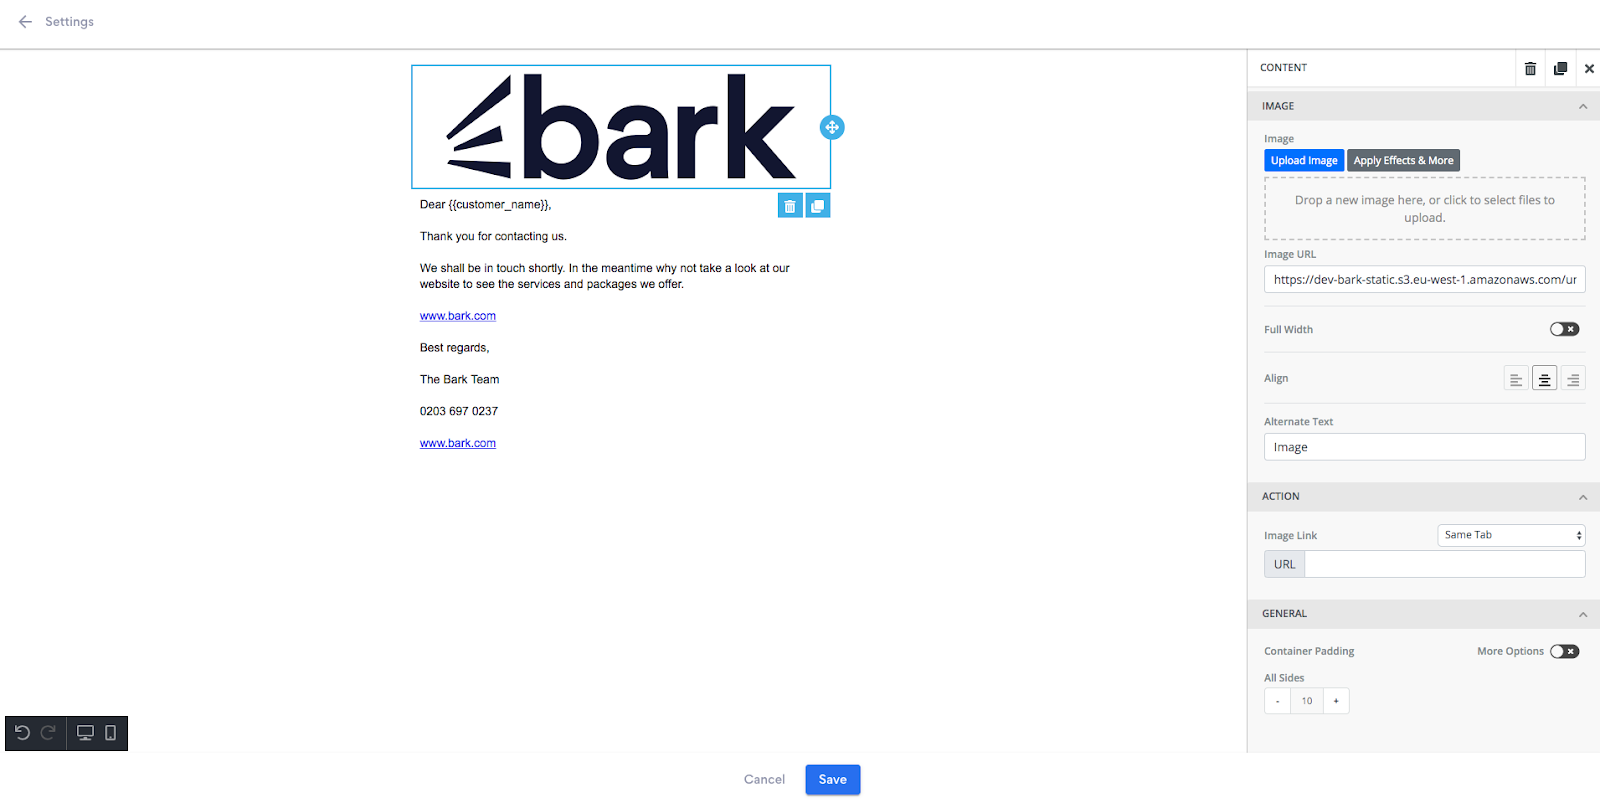
Your company logo will then be displayed. If you are happy with it, click save.
Adding Links
Adding links to your company website, social media pages, or review listings in your one-click response helps drive traffic to the right places and increase customer engagement with your business.
Start by typing or copying in the website address you would like to link to. Then highlight this text:
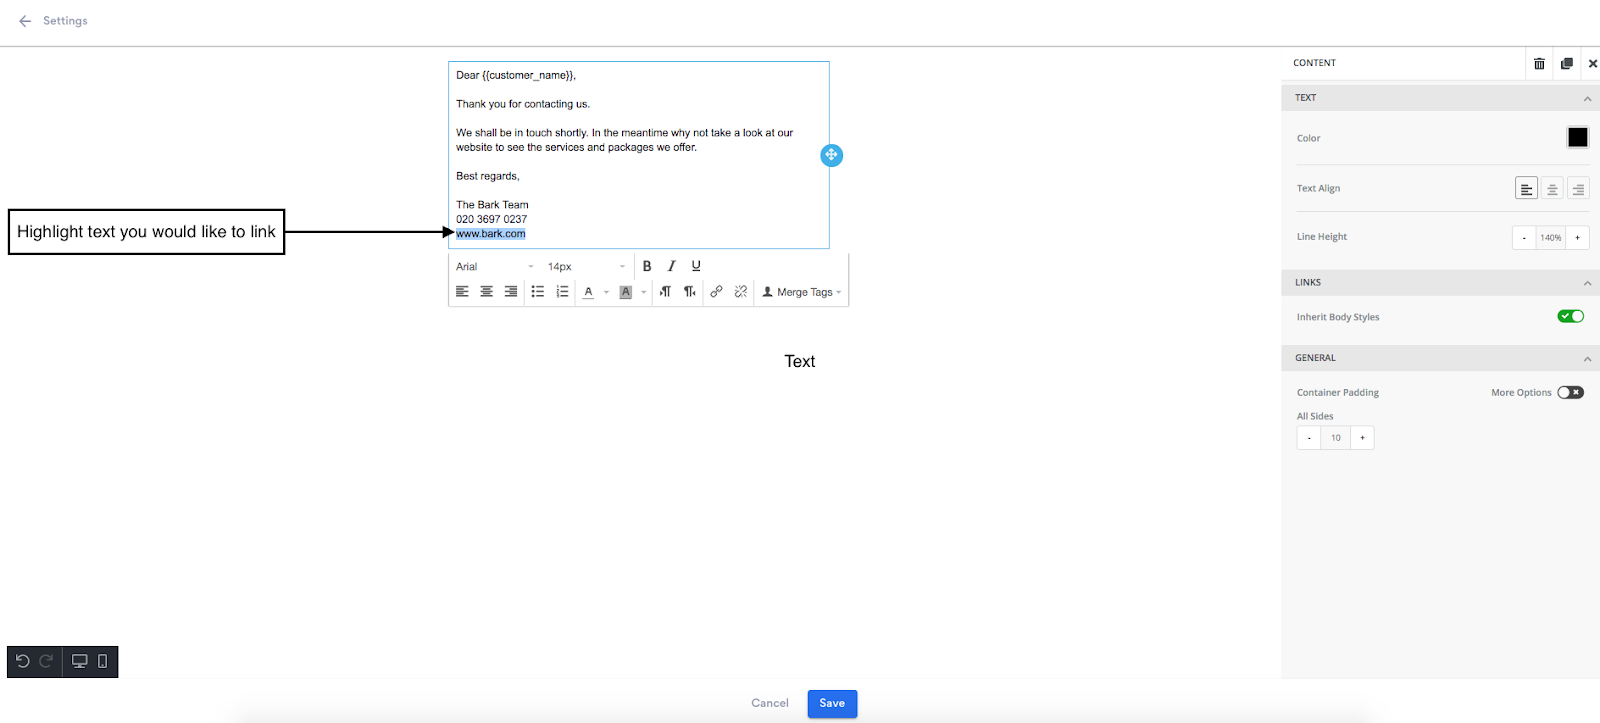
Now, click the ‘edit/insert link’ feature:
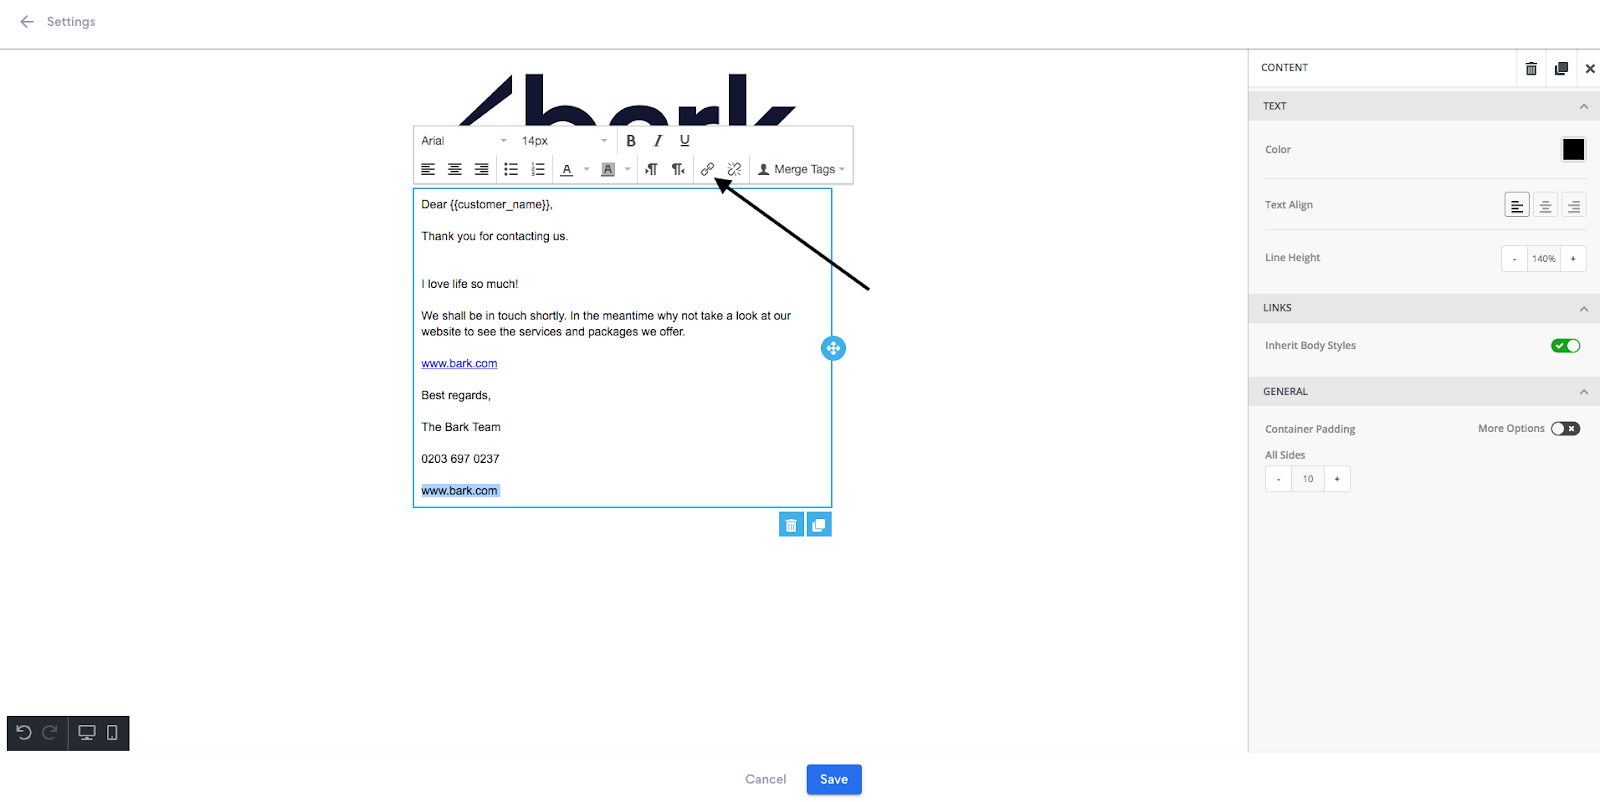
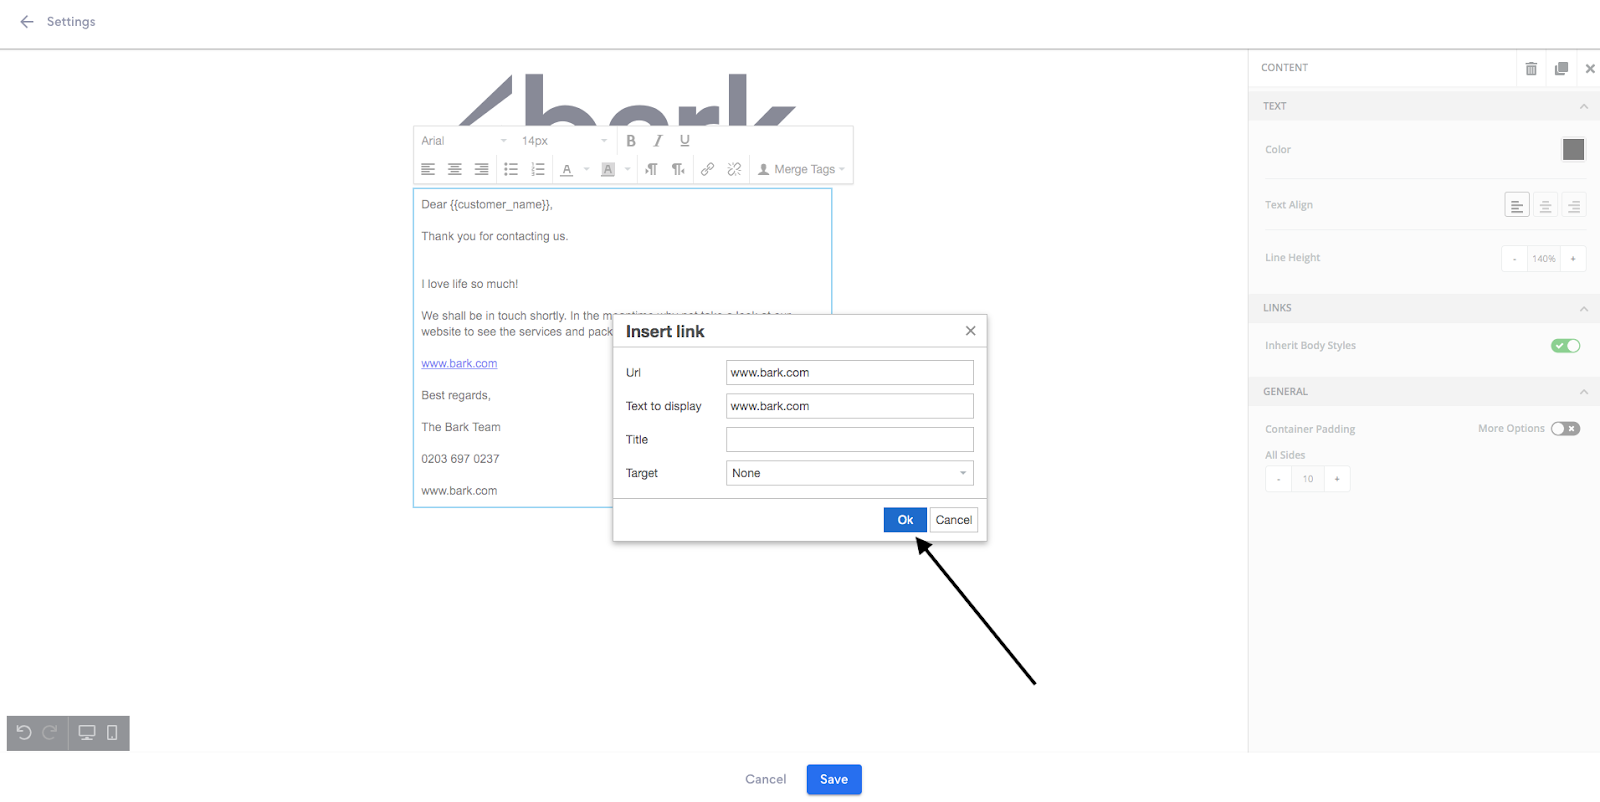
Now, enter the URL (full website address including www.) you wish to link to the highlighted text into the URL field:

Once you have entered the URL you wish to link to the highlighted text, click OK, and your link will be saved:
Clients can now access the web pages you've linked directly by clicking on the linked text.
Changing your Font
Easily and quickly change the font in your messages to make them more unique for your customers.
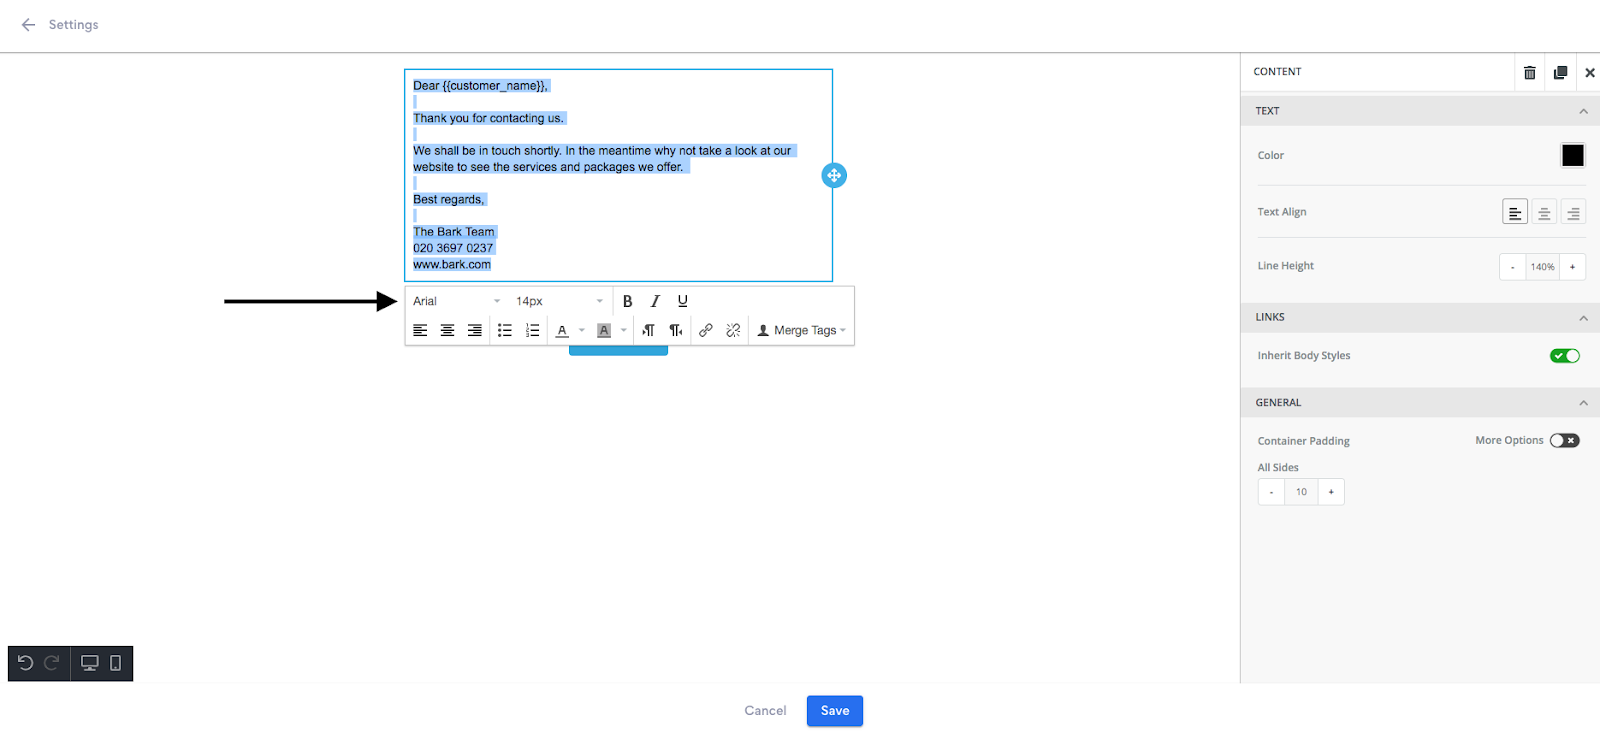
Select the text that needs to have its font changed by highlighting it:
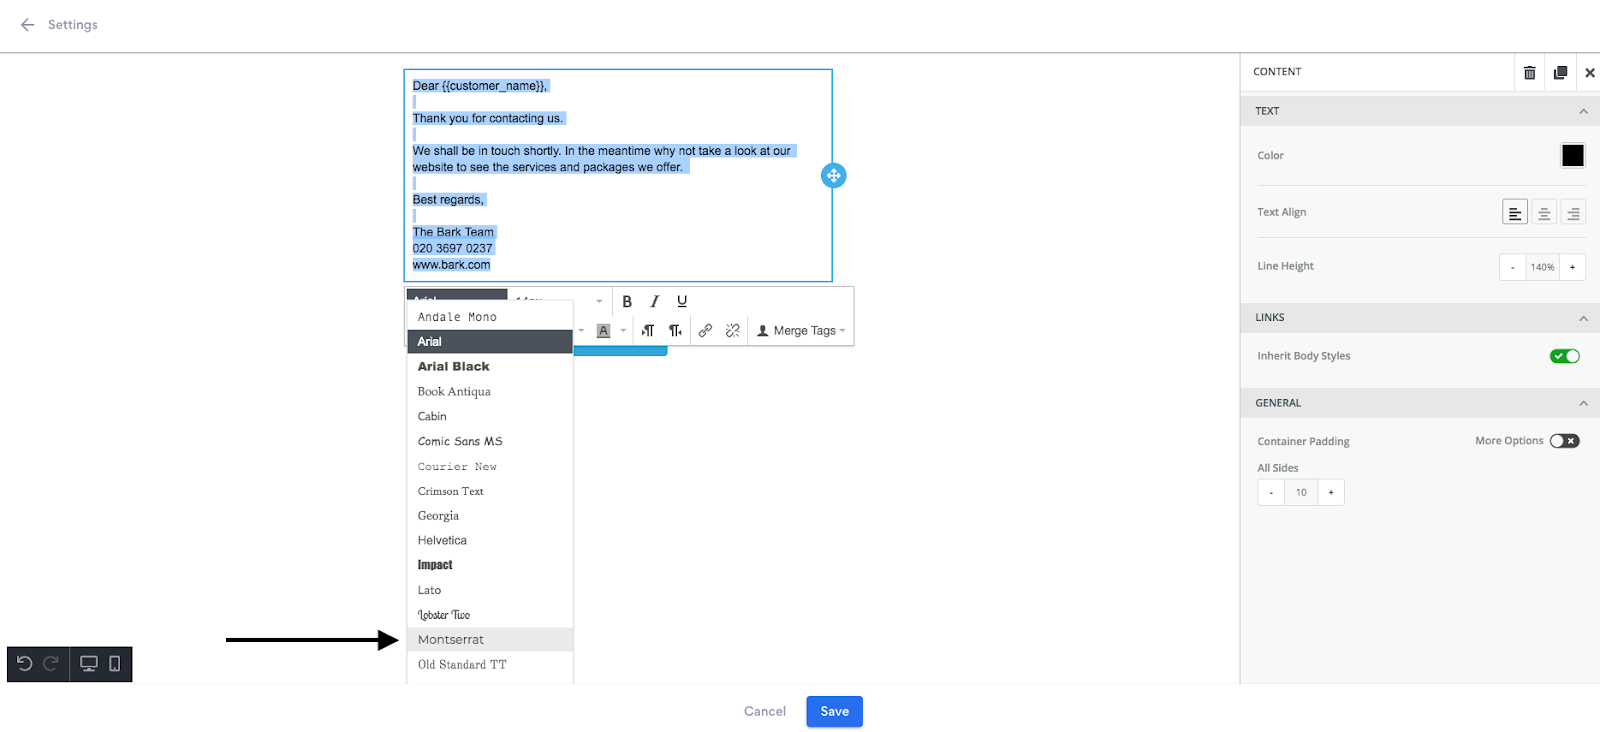
Then, select the desired font from the typeface list:
Choose your font. Once you’re happy with your changes, click save:
Customers will now receive your message in the font you have chosen.
Changing your Text Colour
You can display your text in any colour you like to help your message to customers have a genuine impact.
However, we suggest that you be careful with your selection. Very light or bright font colours can make your messages difficult to read, so be sure your text remains clear after changing colours!
Start by clicking on your text. You will see a feature to change colour on the right-hand side taskbar:
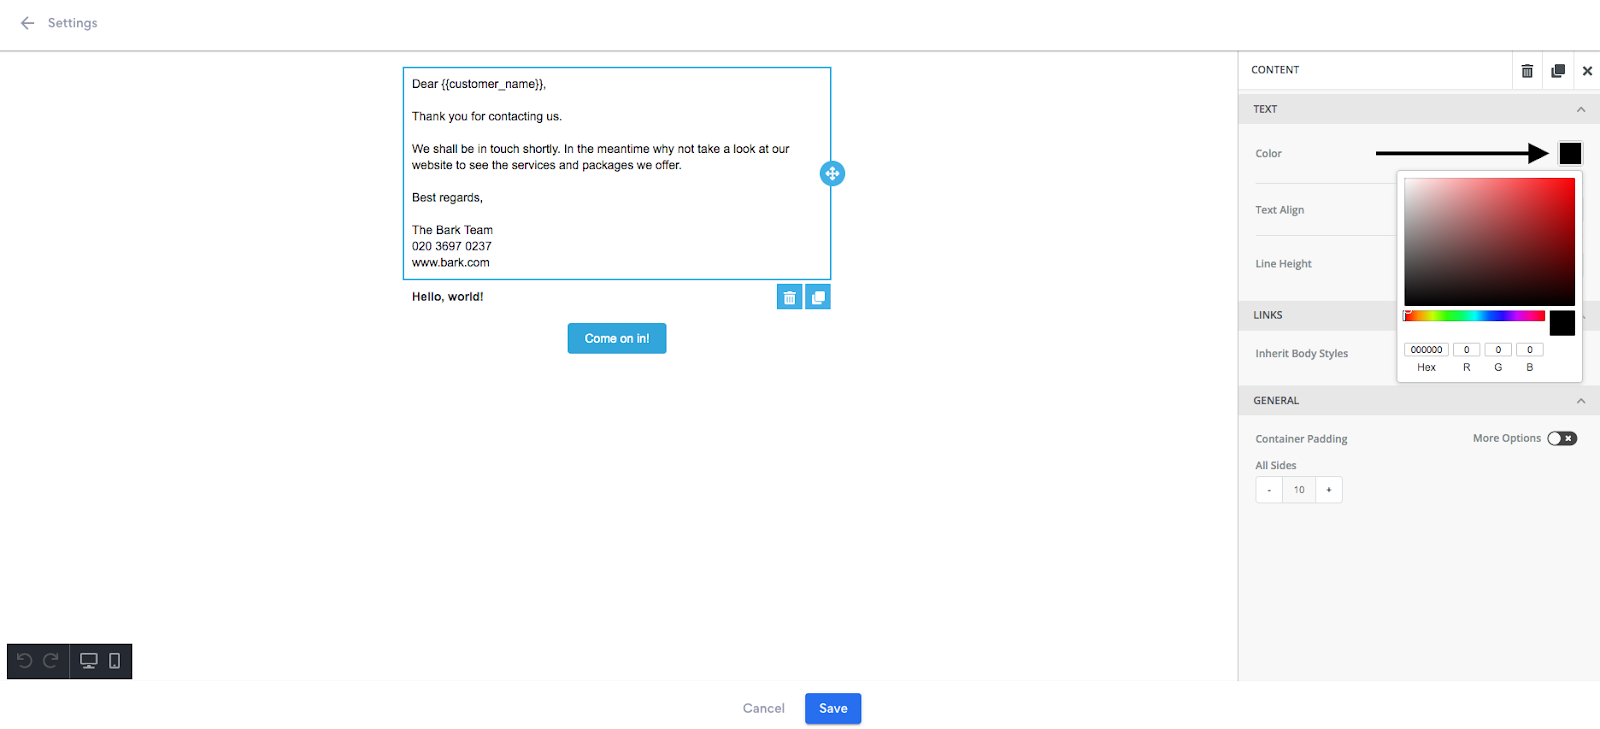
Use the colour slider to select your desired text colour, which will change automatically:
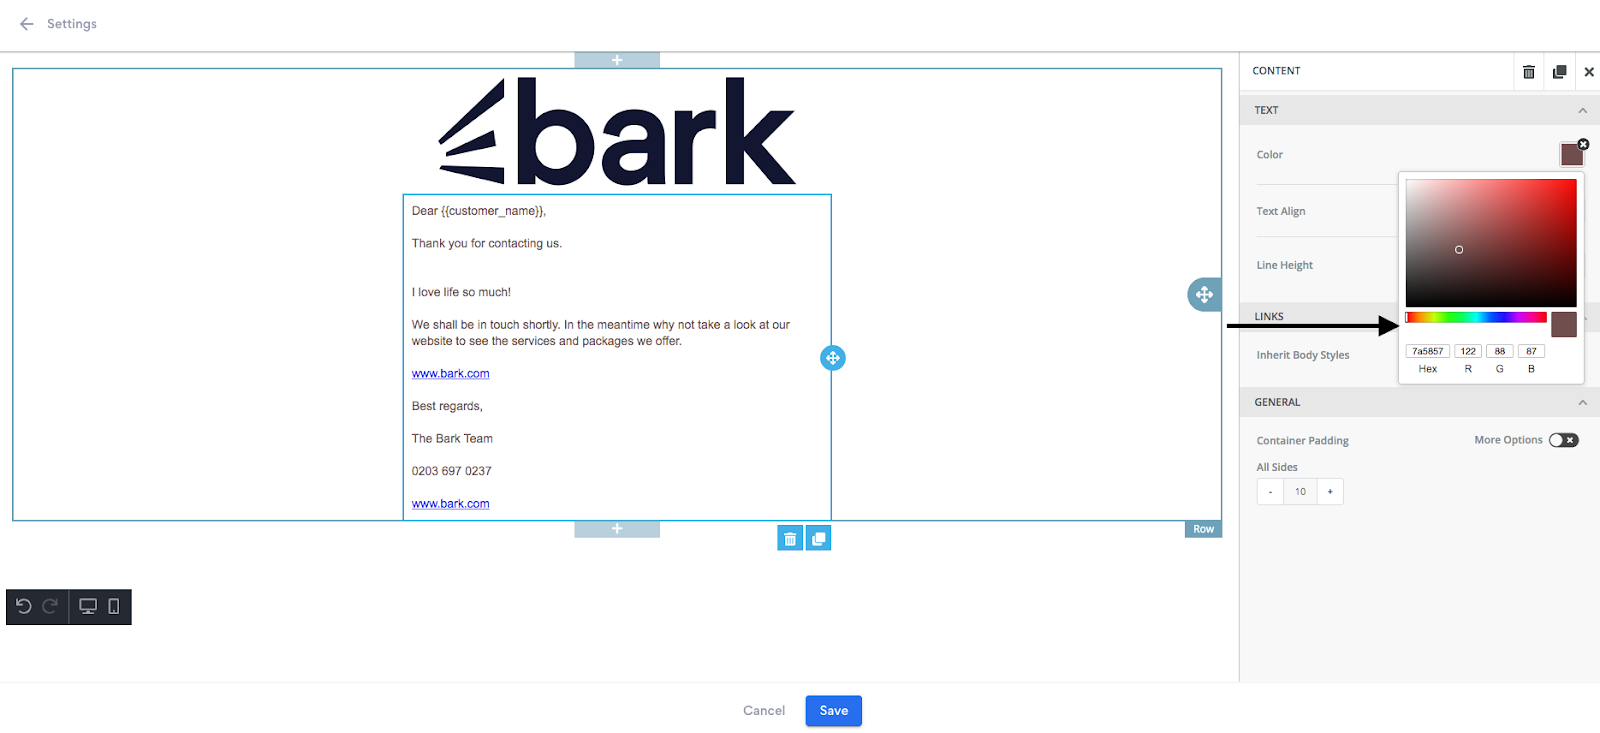
Using the colour graph, you can then select the shade of your choice, which will also change automatically:
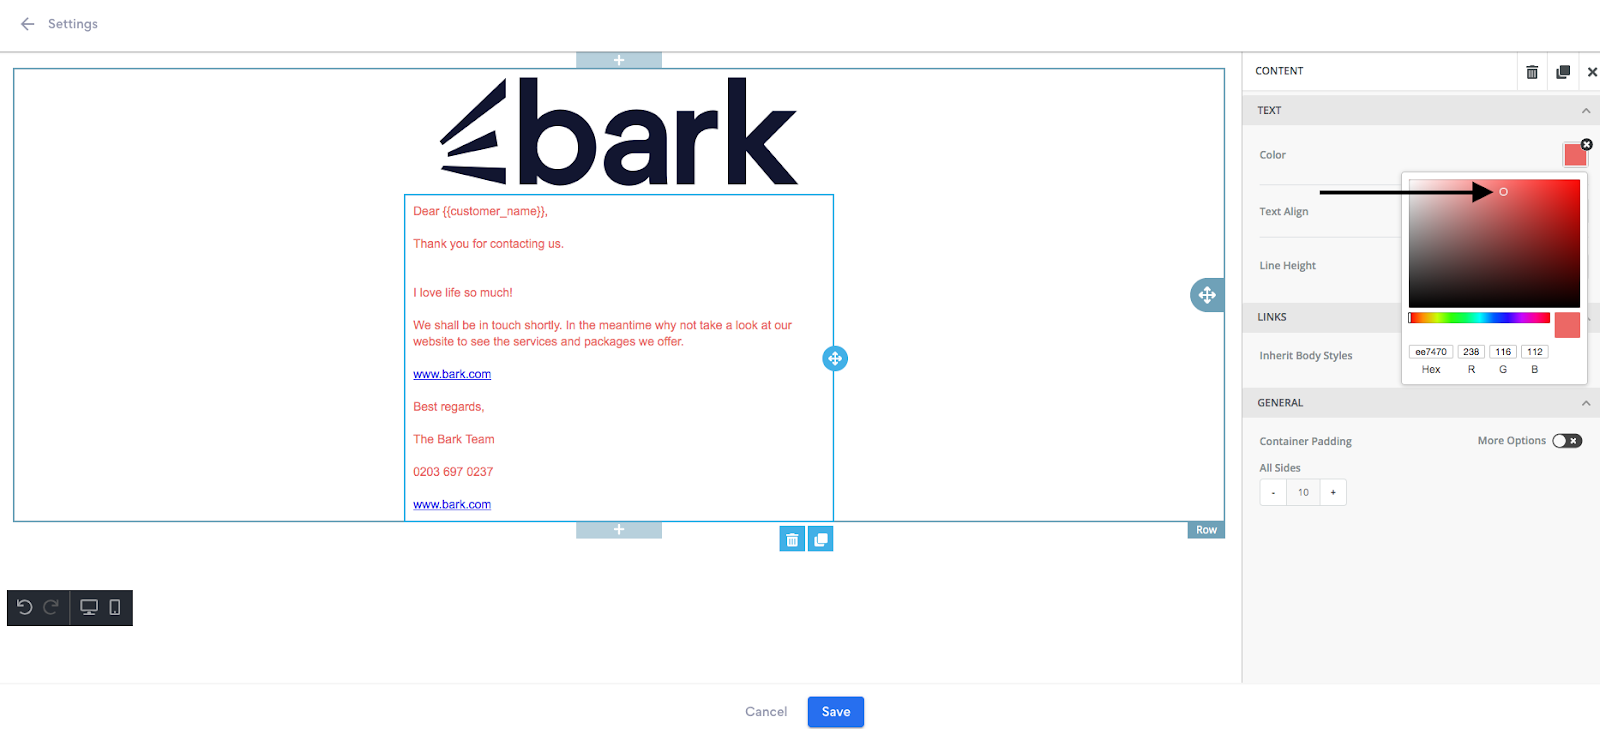
Once you are happy with the colour of your text, click save.
Adding a Button
Enhance the appearance and professionalism of your emails by including a button that directs customers to your website or bookings page. Simply click and drag the button icon from the right-hand taskbar to your desired position:
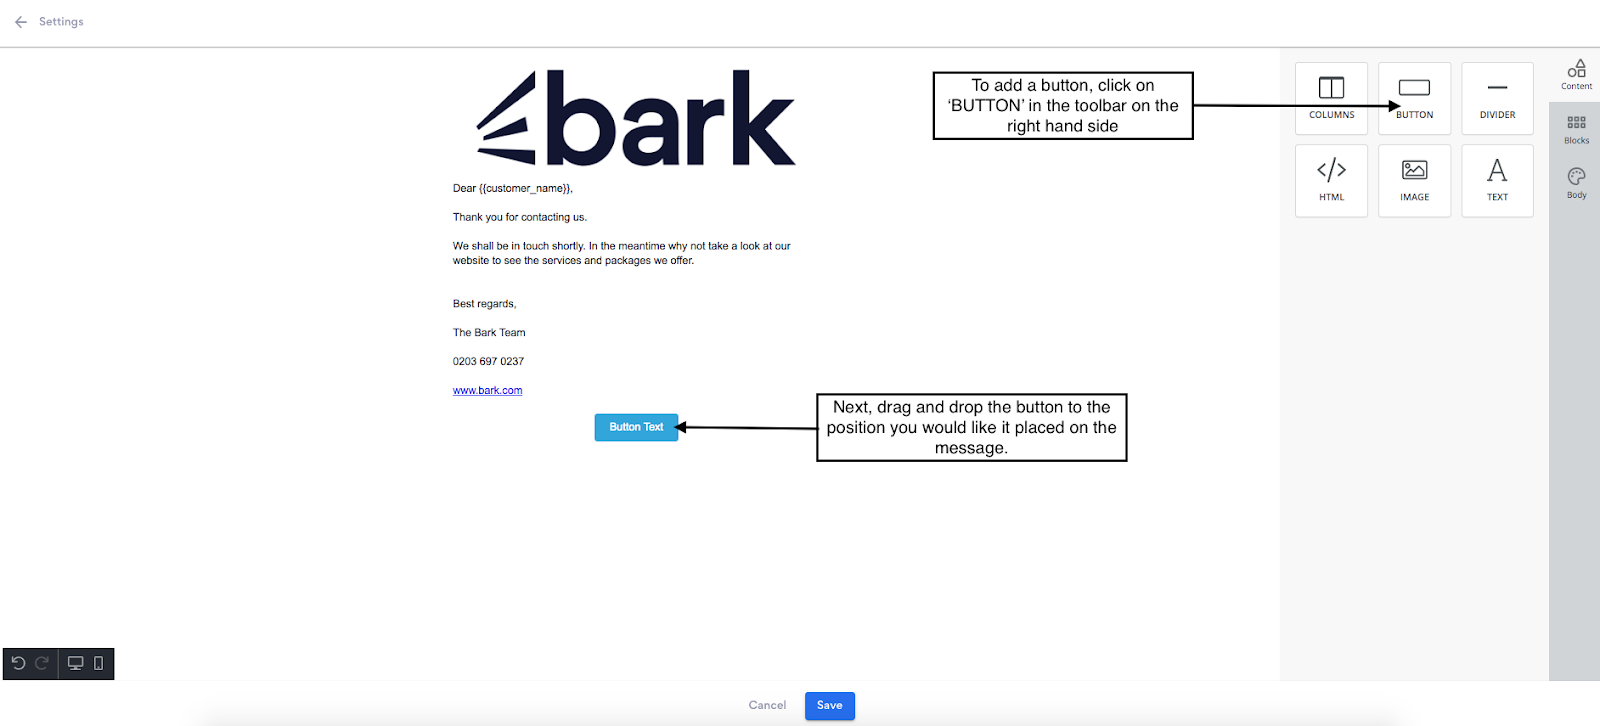
Once the button is in the desired position, you can change the text by simply clicking on it and typing. Additionally, you have the freedom to adjust its size and font using the convenient toolbar that appears automatically:

Please enter the full website address (URL) you want the button to link to in the URL field located on the right-hand side toolbar.
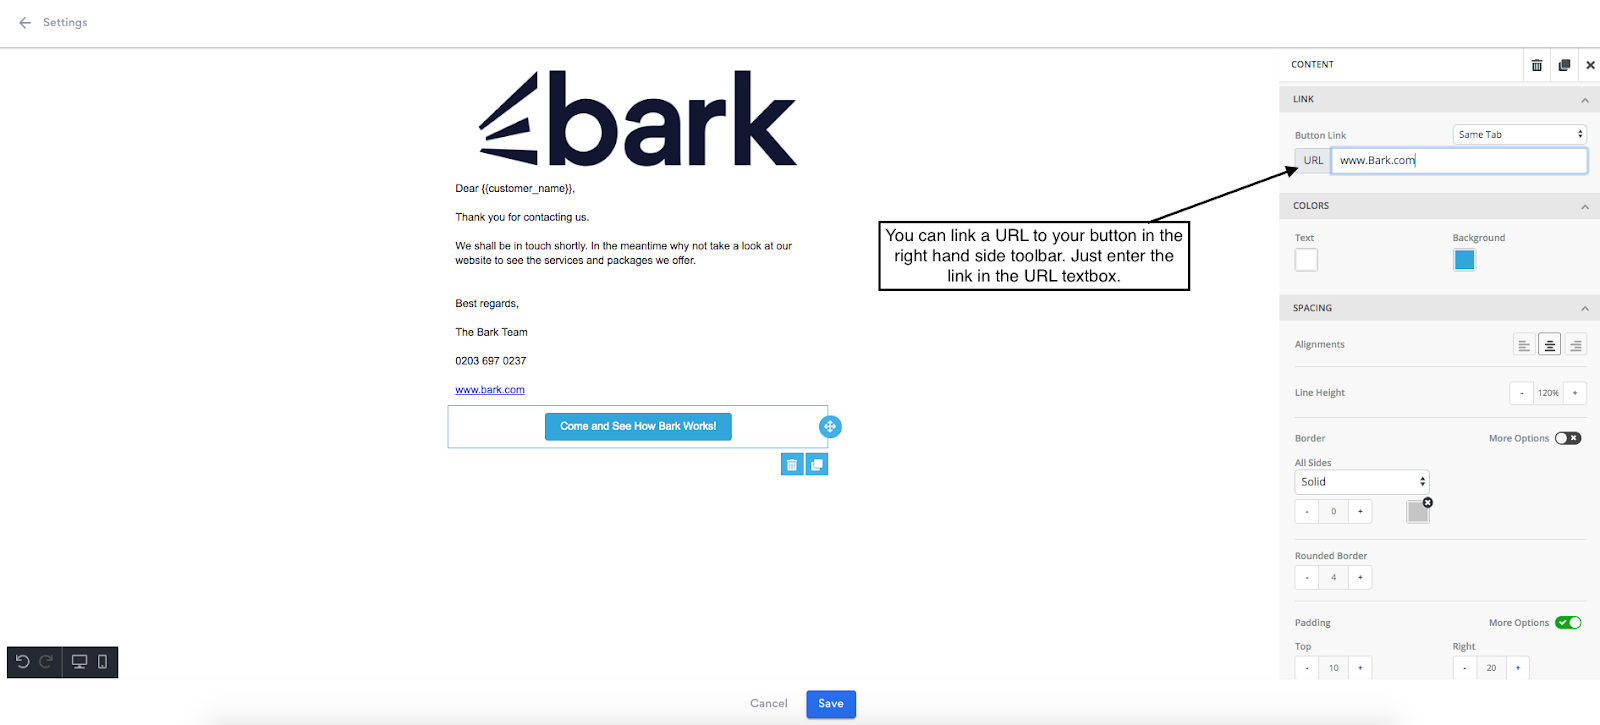
Using the right-hand side toolbar, you can now customise the borders, colours, spacing and other elements of your button:
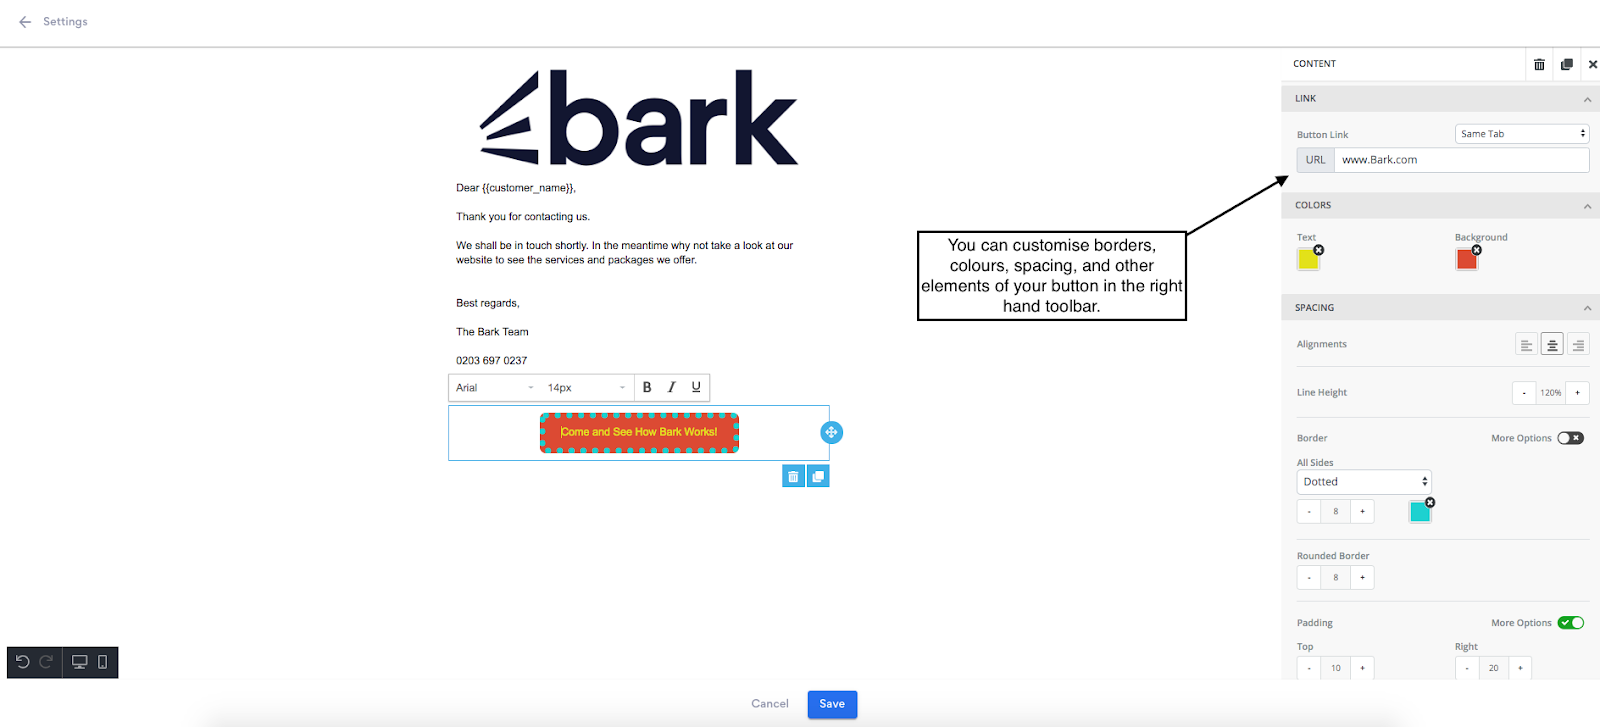
When you are happy with your button, click save.
Merging Tags
You can customise your one-click response by merging tags. When you send your message to any customer, it will be automatically addressed to their name, helping you make a seamless introduction and the best first impression every time.
Start by writing the content of your message, but leave the customer name blank. Then, after clicking on the space where you want the customer’s name to appear, using the toolbar, select “Merge Tags” and click “Customer name”:
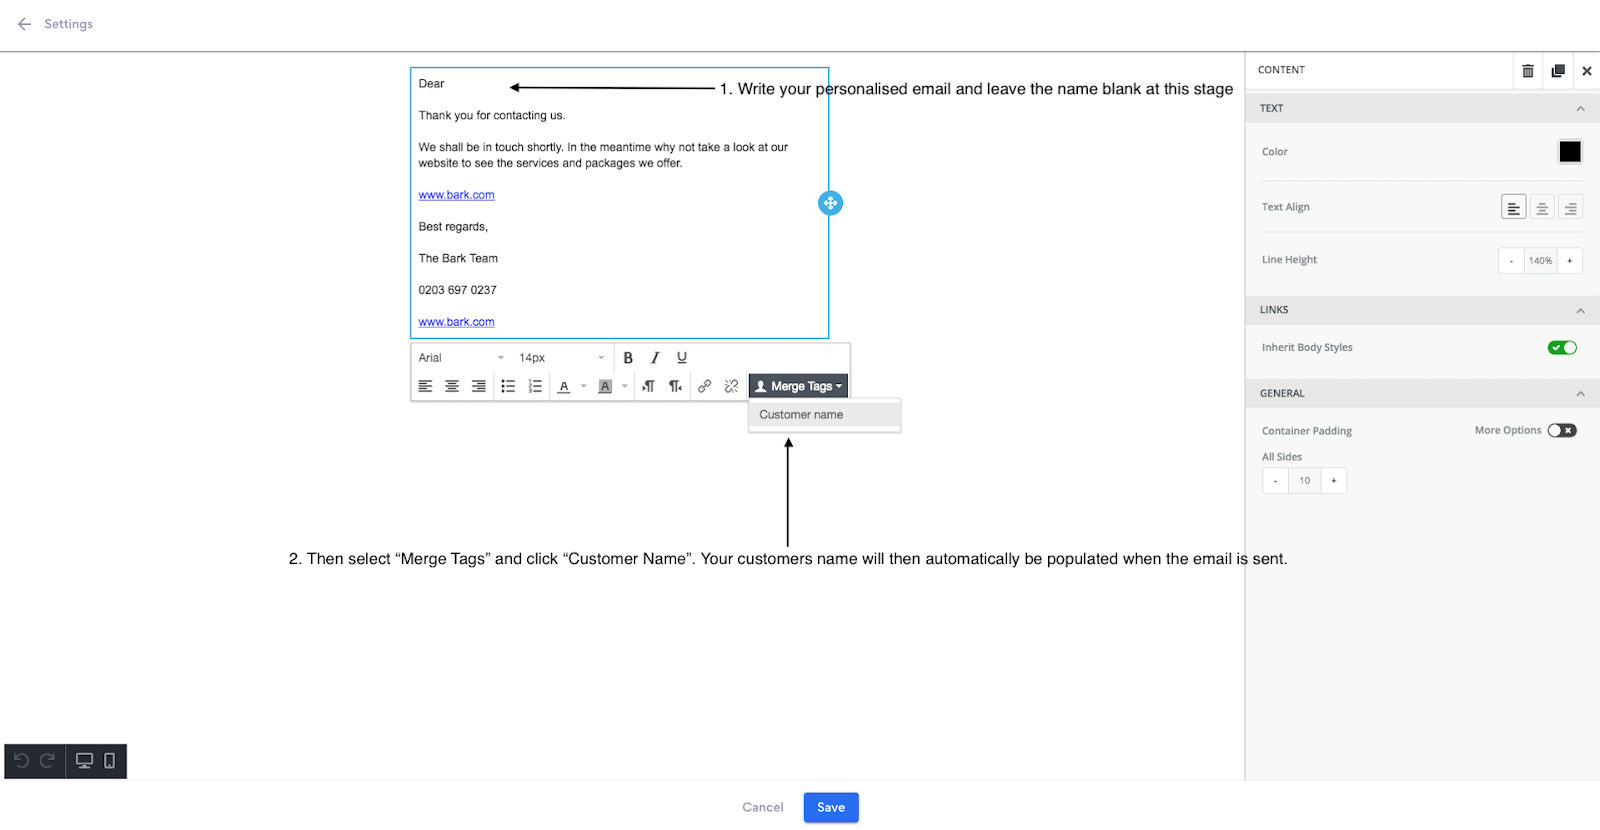
You will then see the tag appear in the selected place:
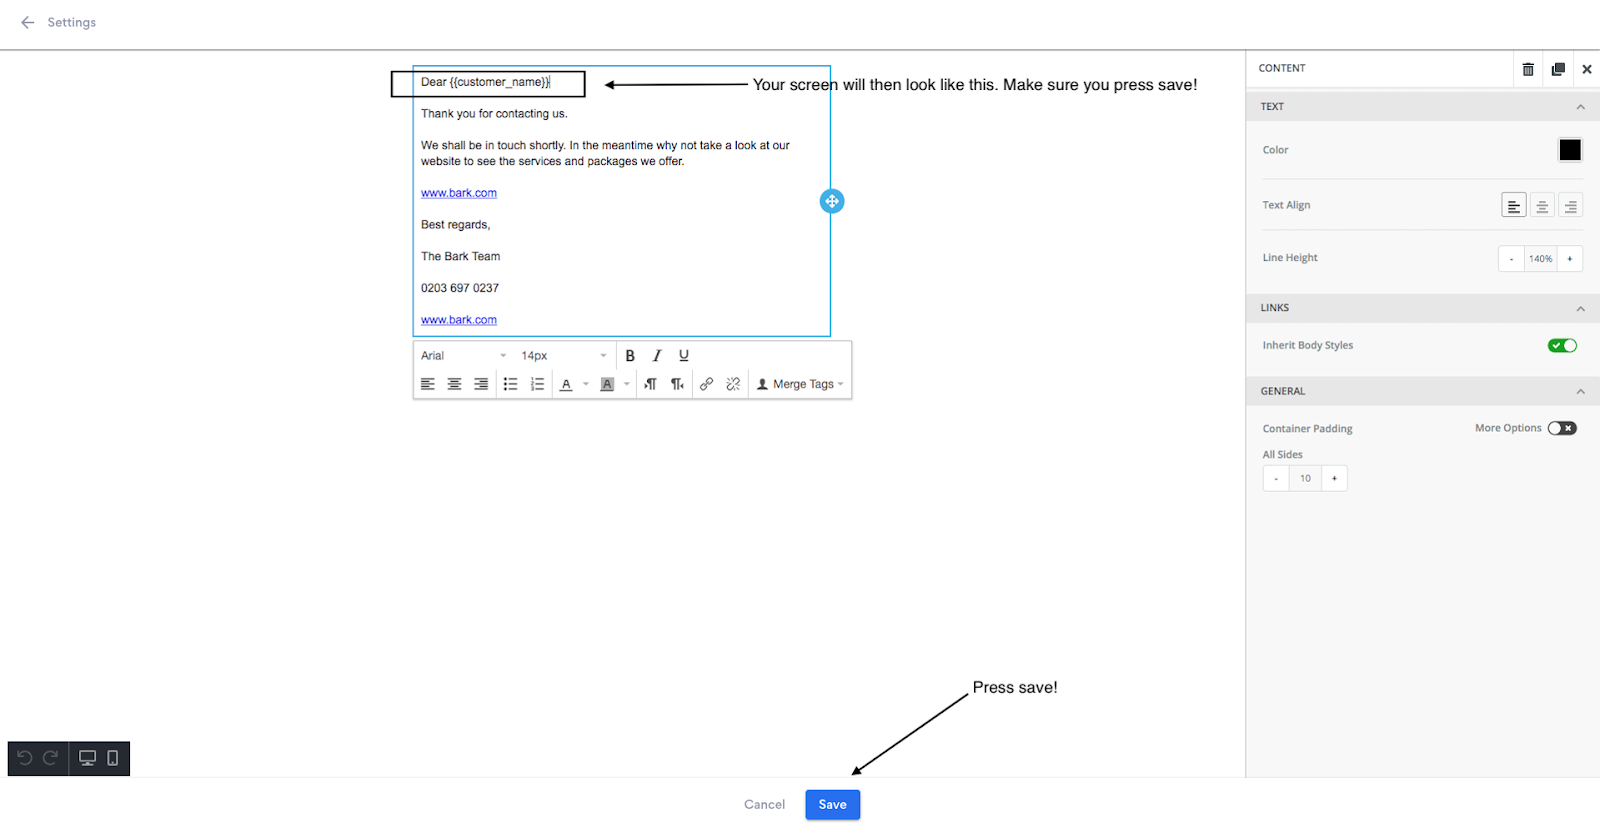
Now, the customers’ names will automatically update when you send your message, personalising your one-click response for the best possible impact.
Don’t forget to click save!
Updated